
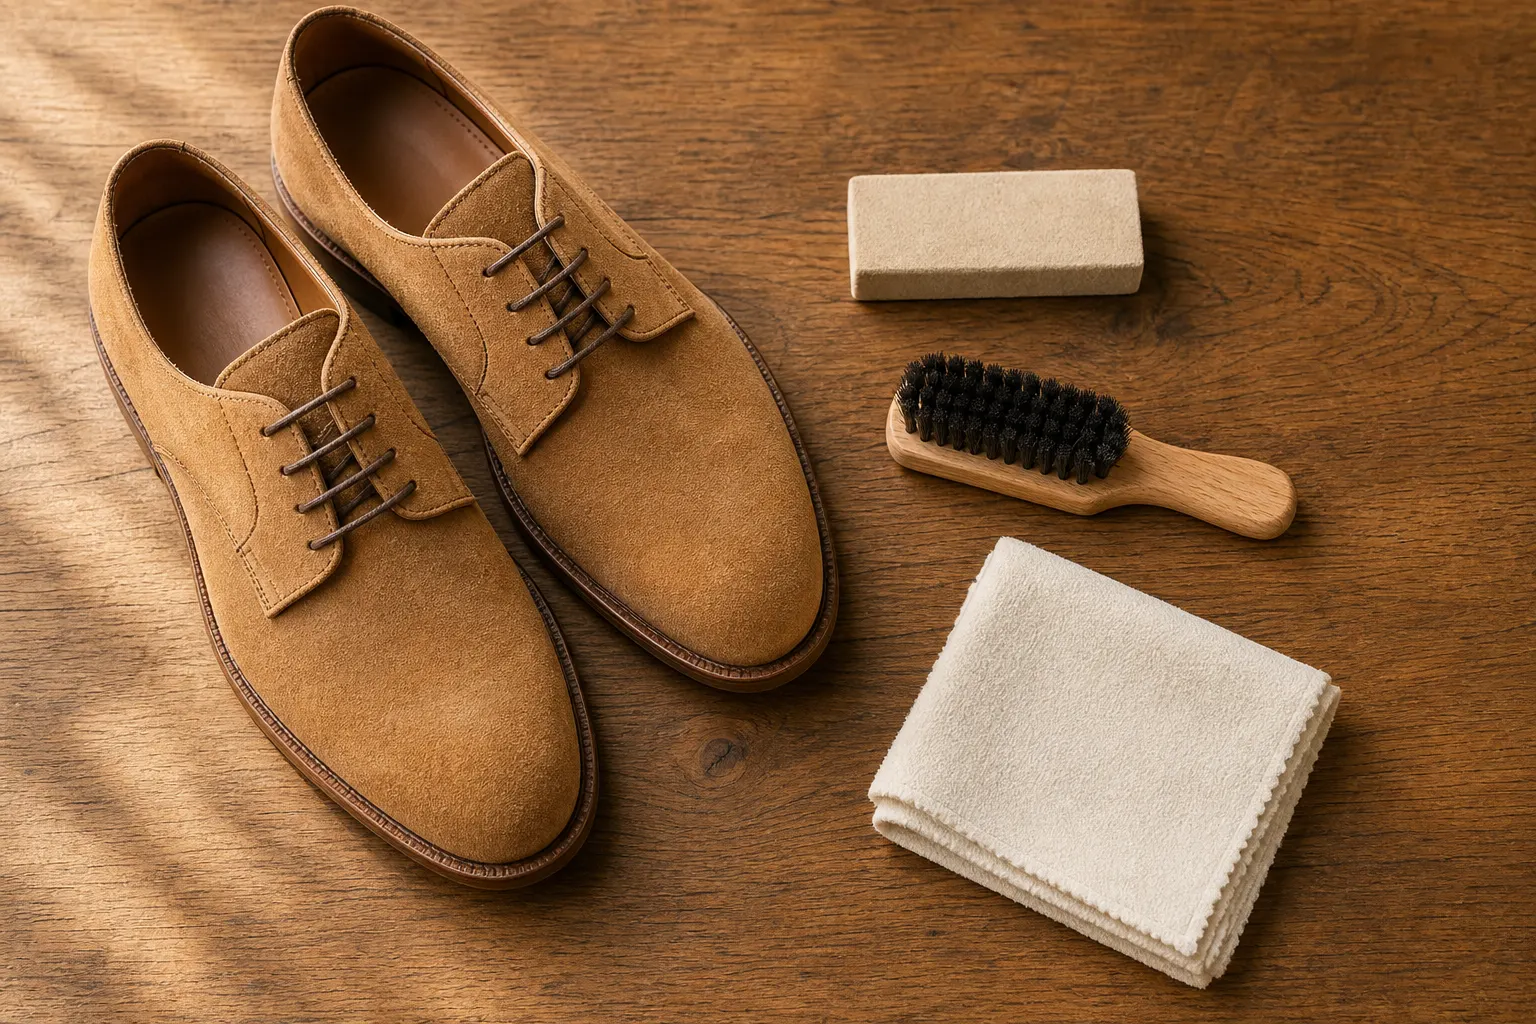
Suede is one of the most stylish — and most delicate — materials in your shoe collection. A single water spot, scuff, or grease stain can make a beautiful pair look worn out fast. The good news is that with the right tools and a little patience, most suede stains can be treated at home without professional cleaning. At the center of that process is one simple, inexpensive tool: the suede eraser.
This guide walks through exactly how to clean suede shoes without ruining them, when to reach for a suede eraser, and what to do about tougher stains it can’t handle on its own.
What Is a Suede Eraser and How Does It Work?
A suede eraser is a crumbly, rubber-like block designed specifically to lift dirt, scuffs, and dry stains from suede and nubuck without soaking the material. Much like a regular pencil eraser, it works by gently abrading the surface of the nap, pulling embedded particles up and away from the fibers rather than pushing them deeper in.
This makes it the go-to tool for:
- Scuff marks and light surface stains
- Dried dirt and grime that brushing alone can’t remove
- Small, localized water spots
- Restoring the suede’s natural texture after a stain has dried
Because suede should never be soaked or scrubbed with water, the suede eraser gives you a way to treat stains without risking permanent water damage or flattening the nap.
Step-by-Step: How to Clean Suede Shoes with a Suede Eraser
1. Make Sure the Shoes Are Completely Dry
Never treat suede while it’s wet. Wet suede is more prone to staining and losing its color, and it can be harder to see where the actual dirt is. If your shoes are damp, stuff them with paper or a shoe tree and let them air dry fully before starting.
2. Brush Away Loose Dirt First
Use a soft-bristle suede brush and gently sweep the surface in one direction, following the natural grain of the nap. This lifts away loose dust and dirt and helps “wake up” the texture before you tackle any stains. Brush, don’t scrub — heavy pressure at this stage can crush the fibers and leave a shiny, flattened patch.
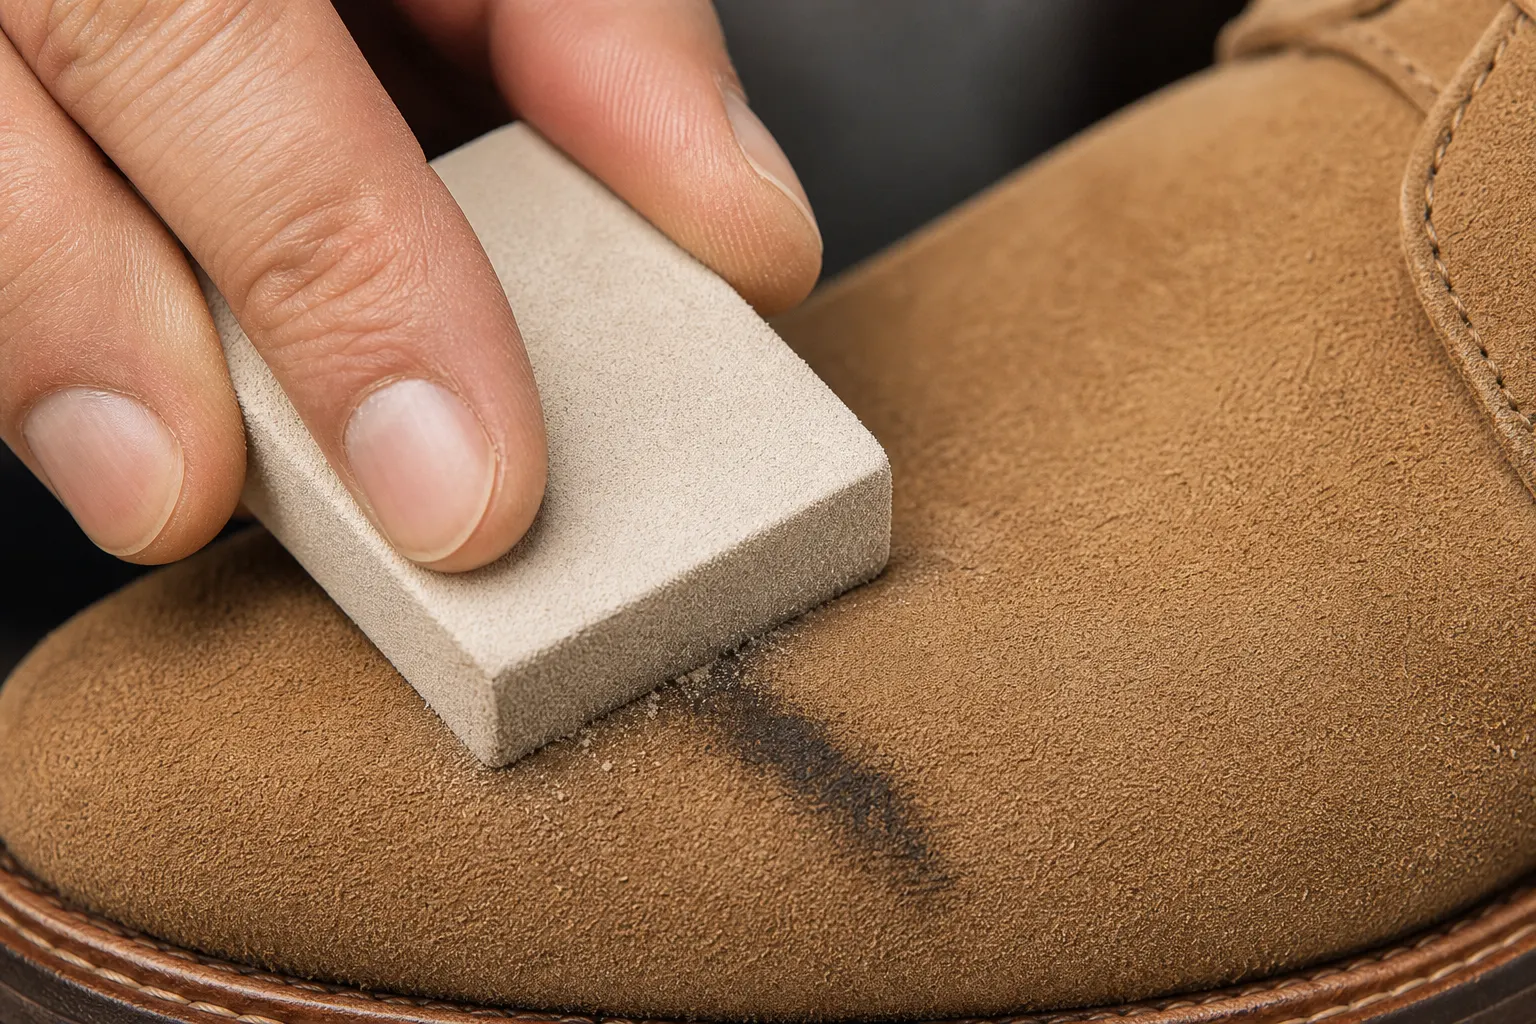
3. Rub the Suede Eraser Over the Stain
Once the surface dirt is gone, use the suede eraser directly on scuffs, marks, or dried stains. Rub gently in a back-and-forth motion, applying light to moderate pressure — similar to using a pencil eraser. Continue until the mark lifts, which may take a minute or two for stubborn spots. Don’t rub too aggressively in one spot, as excess friction can damage the nap.
4. Brush Away the Residue
After erasing, use your suede brush again to sweep away any eraser residue and restore the nap’s texture.
5. Treat Tougher Stains with a Liquid Solution
If the suede eraser doesn’t fully lift a stain, move on to a more targeted treatment:
- General stains:Lightly dampen a clean cloth with white vinegar or rubbing alcohol and dab — never soak — the stained area.
- Oil and grease stains:Sprinkle the area generously with cornstarch or baking soda, let it sit for a few hours to absorb the oil, then brush away.
- Persistent stains:A dedicated suede cleaning solution, applied sparingly with a microfiber cloth, can break down stains that household remedies can’t.
Always spot-test any liquid solution on a small, hidden area first to check for discoloration.
6. Let Them Dry and Finish with a Protector Spray
Once the shoes are clean, let them air dry away from direct heat. Finish with a waterproof suede protector spray to create an invisible barrier against future water and stains — this single step makes your next cleaning session much easier.
What You’ll Need
- A suede brush (soft bristle side for the nap)
- A suede eraser (a clean white pencil eraser works in a pinch)
- A clean, dry microfiber cloth
- White vinegar or rubbing alcohol
- Cornstarch or baking soda for oil-based stains
- A suede protector spray
Common Mistakes to Avoid
- Soaking suede in water or washing it in a machine— this permanently alters the color and texture
- Scrubbing instead of brushing— aggressive pressure crushes the nap and leaves shiny patches
- Skipping the protector spray— untreated suede is far more vulnerable to future stains
- Using colored or dirty erasers— always make sure your suede eraser (or substitute) is clean before use
Final Thoughts
Suede doesn’t have to be as intimidating to care for as it seems. With a suede brush, a suede eraser, and a little patience, most everyday stains — scuffs, dry marks, light water spots — can be treated safely at home. For oil stains or anything stubborn, a quick assist from cornstarch, vinegar, or a dedicated suede cleaner will finish the job. Build in a protector spray after every clean, and your suede shoes will stay looking sharp for years.